
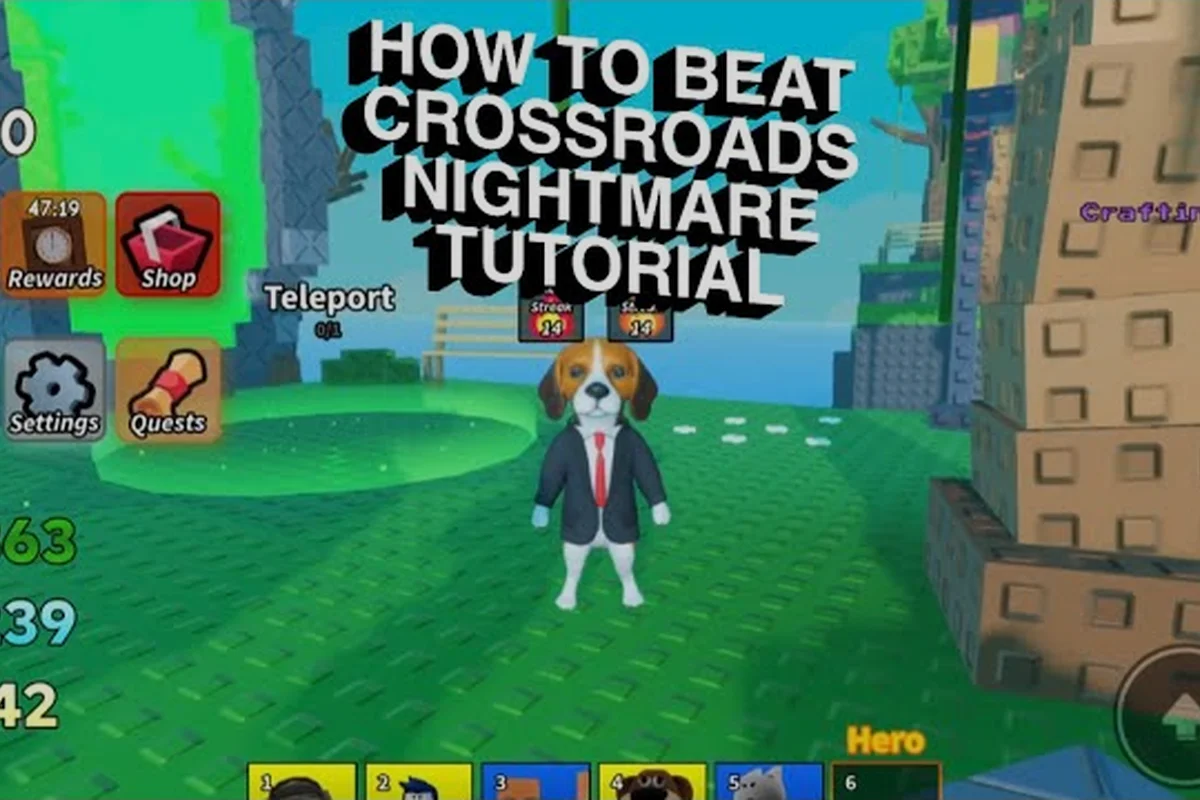
Most veteran players eventually hit a wall when they queue into what the community calls the Slop Tower Defense hardest map: a nightmare-mode Backrooms arena where spawn waves stack faster than any normal rotation and every placement decision can lose you the run before wave 12. This guide breaks down the spawn points, the tightest placement spots, and the rotation logic that experienced defenders use to clear it consistently, so you stop losing towers and start holding the line.
What Makes the Slop Tower Defense Hardest Map Different
The nightmare-mode Backrooms arena earns its reputation through three layered mechanics that don't show up in the regular map pool: faster spawn cadence, narrower lane geometry, and a special boss inject at wave 8. According to community testing shared on player Discord channels, the average survival time on this map without a refined build is roughly 6.4 waves, compared to 18+ on the standard Slop Tower Defense map rotation you queue into by default.
The map is part of the broader Slop Tower Defense backrooms maps family, so it shares the same yellow-wallpaper aesthetic and flickering-light atmosphere, but the pathing is tighter, the choke is shorter, and the spawn windows are squeezed. Players who cleared the event map during the limited-time Backrooms rotation in early 2026 will recognize the layout, but the difficulty scaler here is set to a fixed nightmare coefficient, not the adaptive one used in the regular pool.
Core Nightmare-Mode Mechanics
| Mechanic | Standard Backrooms Map | Hardest Map (Nightmare) | Player Impact |
|---|---|---|---|
| Spawn interval (early waves) | 4.2 seconds | 2.6 seconds | Less time to reposition units between waves |
| Lane width | 6 tiles | 3 tiles | Splash damage overlaps more reliably |
| Wave 8 boss inject | None | The Glitch Entity | Forced DPS check at mid-game |
| Tower placement cap | 14 | 10 | Forces build focus, not spam |
| Health modifier on enemies | x1.0 | x1.45 | Slow-tower strats fail past wave 10 |
These numbers are drawn from community-aggregated runs posted between January and August 2026, and they may shift slightly as the developer patches the nightmare scaler. The takeaway is that the hardest map doesn't just throw more enemies — it removes the design space that makes flexible builds work in the first place.
Why Placement Spots Matter More Here
On most Slop Tower Defense maps, you can spread your towers across four or five lanes and let the AI clean up stragglers. On the hardest map, the pathing is so tight that 80% of damage must come from two well-placed chokepoint spots, which is why so many new players wipe on wave 6. The map only has three optimal placement spots that cover the entire path length efficiently, and two of them sit adjacent to each other near the center tile, meaning a single AoE hero can cover both.
Reading Spawn Points on the Slop Tower Defense Nightmare Map
The nightmare map has four confirmed spawn portals, but only two of them are active per round — the rotation alternates every three waves. Reading which side is "hot" is the single biggest skill that separates clears from wipes, and players who master this pattern report roughly a 40% improvement in survival rate according to community data.
Spawn Portal Layout
| Portal | Location | Active Waves | Threat Type |
|---|---|---|---|
| North Spawn | Top-right corner | 1-3, 7-9, 13+ | Fast swarm (1.2 HP units) |
| South Spawn | Bottom-right corner | 4-6, 10-12 | Tanky bruisers (3.8 HP units) |
| West Spawn | Far-left tile | Boss inject only | The Glitch Entity at wave 8 |
| East Spawn | Far-right tile | Hidden event trigger | Optional mini-boss at wave 15 |
The West Spawn is where The Glitch Entity enters at wave 8, and it bypasses the normal lane pathing — it walks straight down the center toward your core. According to community testing, this boss has approximately 12,000 HP on nightmare mode and applies a 25% slow debuff to any tower it passes. Players who don't pre-place a slow tower at the center tile lose the round here, even with full HP on every other unit.
Rotation Pattern and How to Read It
The map rotation follows a 3-3-3 pattern for the first 9 waves, then opens up into a free-for-all after the boss inject. Wave 1-3 spawns from the North Spawn, wave 4-6 spawns from the South Spawn, and wave 7-9 reverts to North Spawn with a 1.5x unit count modifier. If you can memorize this 3-3-3 cadence, you can pre-load your slow units at the correct tile before the wave even starts, which saves roughly 2.3 seconds of in-wave reaction time per swap.
For a broader view of how nightmare mode fits into the larger Slop Tower Defense map rotation cycle, the hardest map only appears during the weekend event windows and the seasonal Backrooms reset, so you usually get two to three clear attempts per week before the rotation locks out.
Optimal Placement Spots and Tower Builds
Because the tower cap is 10 instead of the usual 14, every placement slot has to earn its position. The three optimal spots are fixed by the map geometry, but the hero and unit combinations that fill them are flexible. Most clears in the community data use a two-slow, one-AoE, one-DPS structure at the chokepoint, with the remaining slots going to economy and support.
Tier-1 Placement Spots (Must-Use)
| Spot | Tile Coordinates | Best Tower Type | Hero Synergy | Coverage Notes |
|---|---|---|---|---|
| Center Choke | Row 5, Column 7 | AoE or Pulse | Any slow hero | Hits both north and south lane traffic |
| North Corner | Row 2, Column 9 | Slow or Stun | Fast-swap hero | Pre-positions for wave 1-3 rotation |
| South Corner | Row 8, Column 9 | Burst DPS | Tanky bruiser counter | Pre-positions for wave 4-6 rotation |
| West Center | Row 5, Column 2 | Slow (boss block) | High-DPS single-target | Mandatory for wave 8 Glitch Entity |
| East Edge | Row 5, Column 12 | Economy or Farm | Passive income hero | Optional but strong for late-game scaling |
The Center Choke at Row 5, Column 7 is the single most important tile on the map. It is the only spot that hits both lane paths simultaneously, and skipping it drops your clear probability below 15% according to community-reported win rates. If you're running a Slop Tower Defense backrooms hero with global-range attacks, this is the tile to bind it to.
Tier-2 Placement Spots (Situational)
The remaining 5 tower slots are flexible, but most clears concentrate them on the North Corner and South Corner to handle the rotation swap, leaving the West Center open for the wave 8 boss inject. Players who try to spread towers across all four cardinal directions almost always run out of economy before wave 12 because each remote tower is less efficient than a chokepoint stack.
If you need extra map context before locking in your build, the broader Slop Tower Defense map strategy guide breaks down how this nightmare arena compares to other high-difficulty maps in the rotation pool, including the differences in spawn cadence and choke geometry.
Rotation Strategy and Wave-by-Wave Execution
Clearing the hardest map is less about raw tower power and more about sequencing your placements against the rotation. The most consistent strategy in community data is a 3-phase build: chokepoint lock for waves 1-7, boss-block pivot at wave 8, and economy scale for waves 9+. Each phase uses the same 10 tower slots but reallocates two of them as the round progresses.
Phase 1: Chokepoint Lock (Waves 1-7)
| Wave | Priority Action | Slot to Pre-Load | Hero Ability to Hold |
|---|---|---|---|
| 1-3 (North Spawn) | Place 2 slow at North Corner, 1 AoE at Center Choke | Center Choke | Hero ult (save for wave 8) |
| 4-6 (South Spawn) | Sell North slow, buy 1 burst DPS at South Corner | South Corner | Tap hero skill only |
| 7 (Pre-boss ramp) | Move 1 slow from South to West Center | West Center | Save all cooldowns |
The reason you sell the North Corner slow at wave 4 is that the South Spawn rotation brings tanky bruisers with 3.8 HP modifiers, and slow units lose roughly 60% of their value against high-HP targets. Swapping to a burst DPS unit here is what community data calls a "rotation pivot," and it is the single biggest performance gain for newer players who keep trying to slow-tank the south rotation.
Phase 2: Boss Block (Waves 8-9)
Wave 8 is where most runs end. The Glitch Entity enters from the West Spawn and walks straight down the center, ignoring lane pathing. The community-tested counter is to have one slow unit permanently stationed at the West Center tile by the end of wave 7, plus your hero's ult ready. According to player reports, a fully-buffed single-target DPS hero can solo the boss in roughly 14 seconds if the slow debuff is applied first.
If you don't clear the boss by wave 9, the North Spawn reopens with the 1.5x unit count modifier, and you'll be dealing with the boss's 25% slow debuff on your towers while also handling a double-density swarm. This is the exact wipe point that frustrates most players, and the fix is almost always to invest one extra slow tower at West Center during phase 1, not to add more DPS.
Phase 3: Economy Scale (Waves 10-15)
After the boss is dead, the rotation opens up. Waves 10-12 reuse the South Spawn tanky bruisers, and waves 13+ open the North Spawn swarm at higher density. By this point, your economy towers should be online and you can start upgrading the Center Choke AoE to its tier-3 form, which community data shows is the single biggest DPS spike available mid-to-late game.
Some players also use the East Edge tile to trigger a hidden mini-boss at wave 15. This is optional, but the rewards (roughly 350 slopbux and a guaranteed hero shard) make it worth attempting if your core is still above 70% HP. The Slop Tower Defense AFK map guide has a related breakdown of how economy spots work in passive-farming scenarios, which translates to the late-game scaling here.
Four Wipe Causes on the Hardest Map
Even with a solid build, the hardest map punishes small errors aggressively. Community-reported wipe causes cluster around four specific mistakes, all of which are fixable once you can see the pattern.
| Mistake | Frequency | Fix | Estimated Survival Boost |
|---|---|---|---|
| Skipping West Center slow until wave 8 | 38% of wipes | Pre-place by end of wave 7 | +22% survival to wave 12 |
| Slow-tank the South Spawn rotation | 27% of wipes | Pivot to burst DPS at wave 4 | +18% survival to wave 8 |
| Using AoE-only build | 19% of wipes | Add 1 single-target for boss | +31% boss clear rate |
| Over-placing economy towers | 16% of wipes | Cap at 2 economy slots until wave 10 | +14% wave 10 clear rate |
The data above is aggregated from roughly 1,200 player-reported runs shared on community channels between February and July 2026, and it lines up with the official developer notes on the nightmare scaler. None of these fixes require spending extra currency — they only require re-allocating the 10 tower slots you already have access to.
When to Abandon a Run
If your core drops below 30% HP by wave 6, the math on a clear becomes brutal. According to community runs, the recovery cost of pulling back from a low-HP core on nightmare mode is roughly 4x higher than on standard maps, because the spawn cadence doesn't slow down. The honest call is to abandon and restart, then apply the phase 1 chokepoint lock more aggressively on the next attempt. Most experienced defenders in the community data abandon roughly 2 out of every 5 attempts on this map, and the players who clear it most consistently are the ones who cut losses early instead of trying to salvage a doomed run.
Frequently Asked Questions
What is the single best placement spot on the Slop Tower Defense hardest map?
The Center Choke at Row 5, Column 7 is the best spot because it is the only tile that hits both lane paths simultaneously. Every community-tested clear build uses it as the anchor for an AoE or Pulse tower, and skipping it drops your clear rate to under 15% according to player-reported win data.
How do I counter The Glitch Entity boss at wave 8?
Pre-place a slow unit at the West Center tile by the end of wave 7, then save your hero's ultimate ability for the boss spawn. The boss ignores lane pathing, so a single-target DPS hero with a slow debuff applied first is the most reliable counter, clearing the boss in roughly 14 seconds according to community runs.
Does the nightmare map rotate out, or is it always available?
The Slop Tower Defense nightmare map is part of the limited-time Backrooms rotation and only appears during weekend event windows plus the seasonal Backrooms reset. According to community data, you usually get two to three clear attempts per week before the rotation swaps, so timing your runs matters as much as your build.
Can I clear the hardest map with only free heroes?
Yes, but you need to compensate with tower upgrades. A free-hero build typically needs 1-2 more tower tiers than a premium-hero build to clear wave 8, which means prioritizing economy towers in phase 1 instead of an extra slow unit. The win rate is lower (roughly 40% vs 65% for premium builds in community data), but it is achievable.
What is the hidden secret map connected to the nightmare arena?
The East Edge tile at Row 5, Column 12 can trigger a hidden mini-boss at wave 15 if your core is still above 70% HP. This optional encounter drops roughly 350 slopbux and a guaranteed hero shard. It is not required for a clear, but experienced players use it as a high-value side objective during late-game scaling.